Product Updates
Send a Document for E-Signature in a Minute with Ava Sign
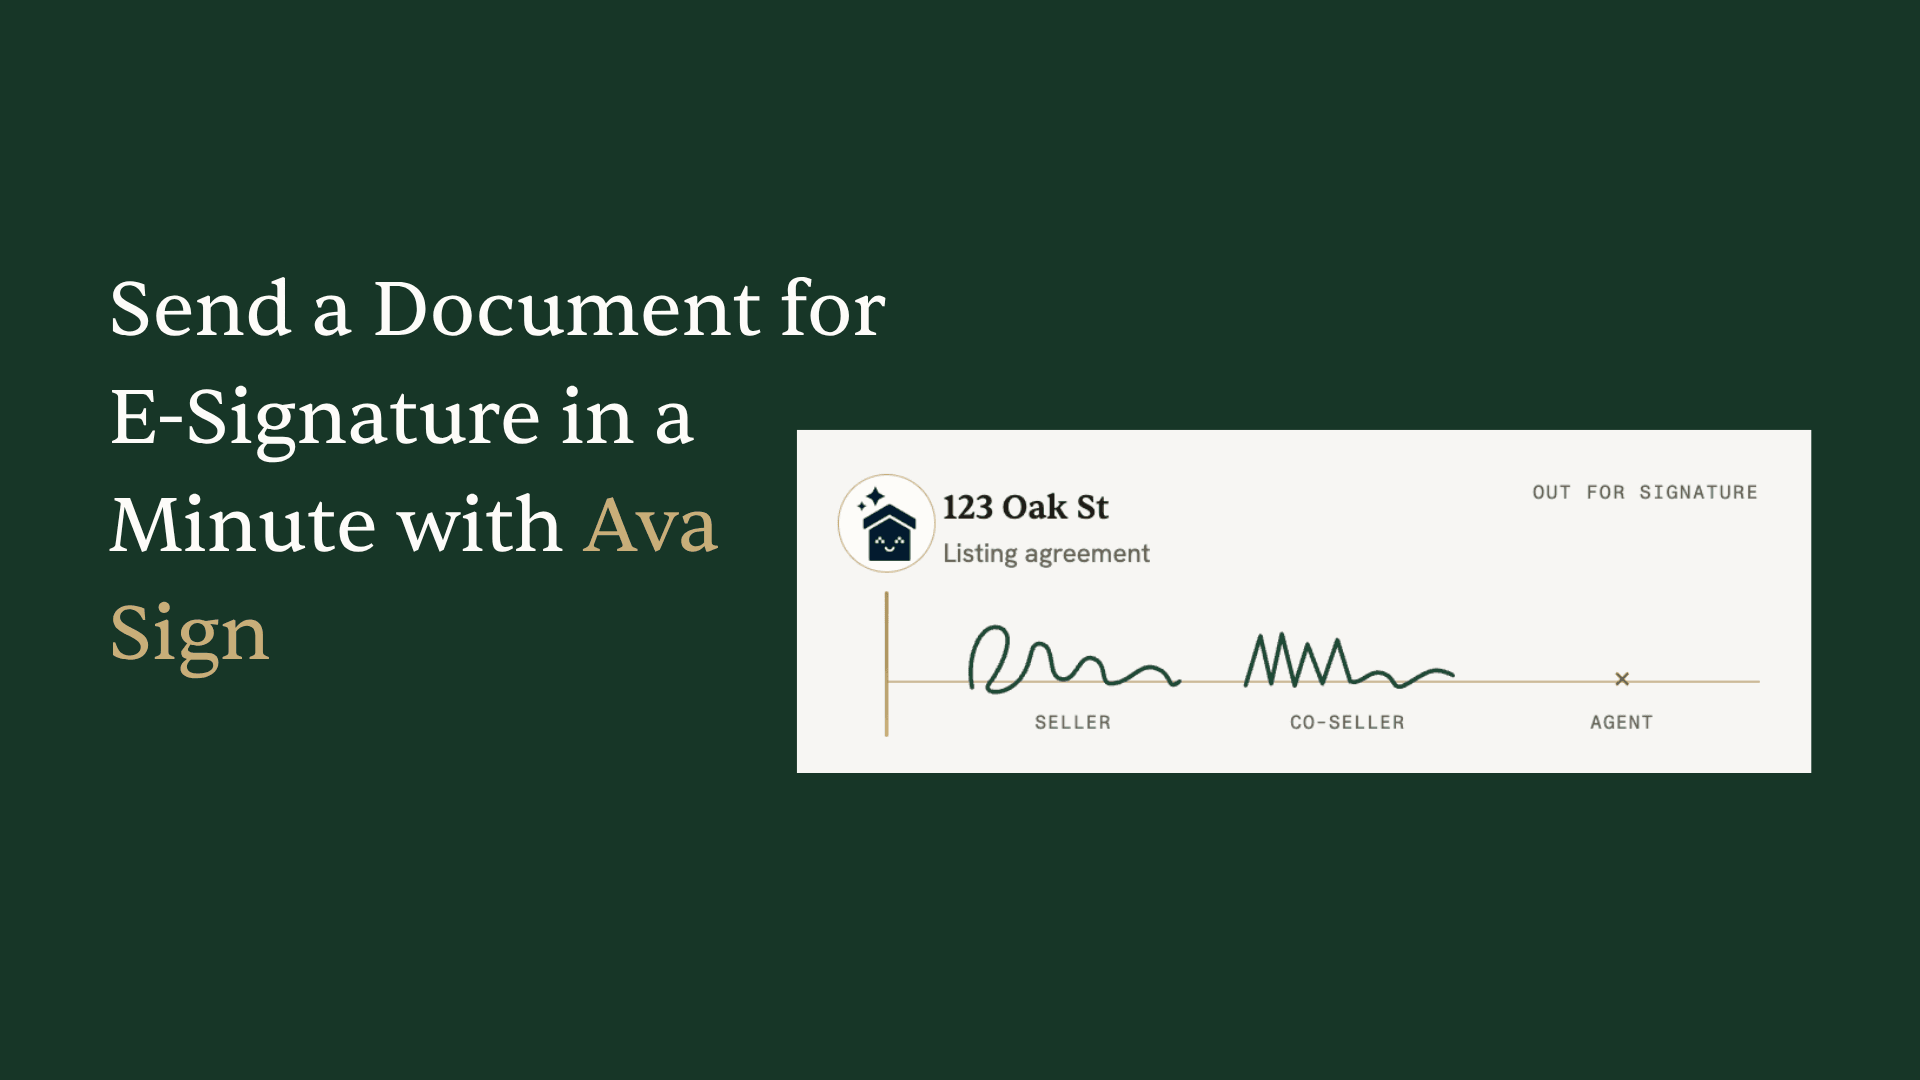
You open a deal and tell Ava to pull a blank amendment from your form library, push the closing back a few days, and prepare it for the buyer to sign. A moment later the amendment is filled from the deal, the signature and date fields are already placed and assigned to the buyer, and the signing request is ready to review. You look it over, drag-select the seller fields you do not need and delete them, and send it from your own Gmail. Then you watch it get signed, right there on the transaction.
That is Ava Sign, the e-signature built into ListedKit. You didn't open a separate tool, retype anyone's name, or build the request from a blank page. Ava pulled the form, filled it from the deal, and prepared the signing fields for you. And once it is sent, you are not logging in somewhere else to see who has signed. The status lives on the deal you were already looking at.
Most people still do this the hard way: export a PDF, open a standalone signing tool, rebuild the request from scratch, type the parties in by hand, send it, and then bounce between that tool and their transaction system to track it. It works, but it's slow, and it asks you to enter the same information in more than one place.
What is Ava Sign?
Ava Sign is real estate e-signature software built into ListedKit, available as an add-on, so getting a document signed happens in the same place you already manage the deal. It covers the paperwork a transaction runs on, from listing agreements through closing.
The difference from a standalone signing tool is where the information comes from. Because Ava reads your contract at intake and keeps a form library of the blank documents you use on every deal, Ava can pull a form, fill it from the data already in the transaction, and prepare the whole signing request: the right fields, placed and assigned to the right signers. You just review it and send. After it goes out, Ava tracks the signatures on the deal and brings the executed copy back when everyone has signed.
How it works
Step 1: Turn on your free trial
E-signature appears in your Settings, and in the Documents tab of any transaction. Turn it on and your 30-day free trial starts, with unlimited signing for the full 30 days and no card to start. Each person on your team starts their own 30-day trial on their own time, so switching it on for yourself never cuts into anyone else's usage.
Step 2: Have Ava fill and prepare the document
Start by allowing Ava do the setup. Tell her to pull a blank form from your form library and prepare it for signature, and she fills it from the deal and places the signature, initial, and date fields for the right signers. If you already have a filled document, upload it to the transaction and ask her to prepare that file for signature instead. Either way, you arrive at a signing request that is built, not blank.
Step 3: Review the request, set the order, and send
Open the prepared signing request and check it. The filled fields show the values Ava pulled from the deal, and the signing fields are already assigned. If a field is not needed, say the seller does not sign this one, drag-select it and delete it. Ava sets the signing order for you by default, working out who signs in what order, and you can override that to have everyone sign at once or in sequence. Owners and super admins can set a team default so no one has to configure it deal-by-deal.
Then send it your way. If your Gmail or Outlook is connected, you can send the signing request straight from your own inbox, so the recipient sees it coming from you and it clears spam filters. No email connected is fine too; the request will simply send from ListedKit.
Step 4: Track every signature on the deal
Once the request is out, you track it from the transaction. The status tracker shows where each request stands as signatures come in, so there is no separate dashboard to check, and if a send fails, ListedKit flags it so you can retry. Because the status lives on the deal, Ava knows it too: an agent with Ava on SMS can ask where the amendment stands, and Ava can respond that it is partially or fully signed. When everyone has signed, the executed copy is saved back to the deal.
What the signer sees
Your signer gets an email with a link, then a one-time code in their inbox to confirm it is really them before they can sign. The signing page is mobile optimized, so they can complete it from a phone in a couple of taps, and they sign a short e-sign disclosure and consent first. Ava Sign is e-sign compliant, with the disclosures written into the app and its policies. Signers need no account and no license. They open the link, verify, and sign.
Prefer to place the fields yourself?
You do not have to hand it all to Ava. From the signing panel you can start a new request, pick a document you have already uploaded or pull one from the form library, and choose to fill it yourself. Then you add fields by dragging them onto the page, whether text, checkbox, date, or signature, mark each one required or not, and copy a field to every page when you need initials at the bottom of each one. Assign each field to a signer, or sign it yourself, because you can also use Ava Sign to complete your own documents in one go.
See Ava Sign in action
Watch Karan walk through the whole flow— from having Ava fill a form to tracking the signatures, in about a minute.
Ava Sign walkthrough: sending a document for signature
Ava Sign for your team
Your team can also use Ava Sign. Every request is tracked on the deal, inside the pipeline you already watch, instead of scattered across each coordinator's personal signing login. For team leads and brokers, the signed document goes straight back onto the file, ready for review at intake, rather than sitting in an agent's personal account. Ava Sign works alongside your mandated compliance archive; It does not replace it.
Billing is per seat. If you are an owner or super admin, you buy seats and assign them to your team members. If you are an admin or user, you request a seat from the owner. Each seat comes with unlimited signing, and each teammate gets their own 30-day free trial to start, so a whole team can try it before anyone pays.
Get started
Ava Sign is free for 30 days, then $29.99 per user, with no card to start. One seat is per user and covers unlimited signature requests, so a busy month never costs more. The people you send documents to sign for free, with no account. Only the person sending needs a seat, and preparing a document is always free, so nothing counts against you until you send.
Already on ListedKit? Open Settings or any transaction's Documents tab, turn on your free trial, and send your first request. Not on ListedKit yet? Get started and try it on a real transaction. You can see the full workflow on the Ava Sign feature page.